Thursday, June 21, 2012

Two Weeks and Counting

I just heard from the painter that the body should be done in about two weeks!  That's great except now I'm in a panic to get everything done.

I started to run the wiring


I still have to finish making the trunk panels.  The basic design had only two panels, but I decided to squeeze more room into the trunk and now I have twelve panels that I had to fabricate, fit and install.  I'll have to remove the gas tank to get them all in place.


The amount of work to do is ridiculous.  Can I get it all done?  Stay tuned to find out.

Sunday, June 3, 2012

Is the End in Sight?

Maybe not yet, but I'm definitely getting closer!

I've been knocking-out a bunch of mini-projects and here's a sampling:

I started to install the modules that will control the electrical system.  It's actually a computer network.  The main computer picks-up signals from the switches and tells the other two computers (one in the engine compartment and one in the trunk) what to do.  The remote computers will control the lights, fan, wipers, etc.

The main computer slides up behind the dash on the bracket that I made.  Once it's programmed, I shouldn't have to access it, but I can always slide it down if I need to.


Here is the front computer in place.  I didn't want to make it visible so I put it on a hinge and it will flip up out of sight.  Here is a picture of the computer tilted down toward the engine.
 And here is one from the opposite angle of the computer tilted up.  This area is under the front fender so it won't be visible once the body is on.

I finished insulating the firewall.  You can see the heater installed in the center.
Here is a picture of the valve that will control the heater.  The silver hoses on the left connect to the engine and when the valve is closed, the hot engine coolant will return to the radiator.  When the valve is open, the fluid will flow through the pipes on the right and into the heater.

Since I had to drain the coolant from the engine to install the heater valve, I also fixed a small coolant leak in the front of the engine.  It was a case of using the wrong gasket.

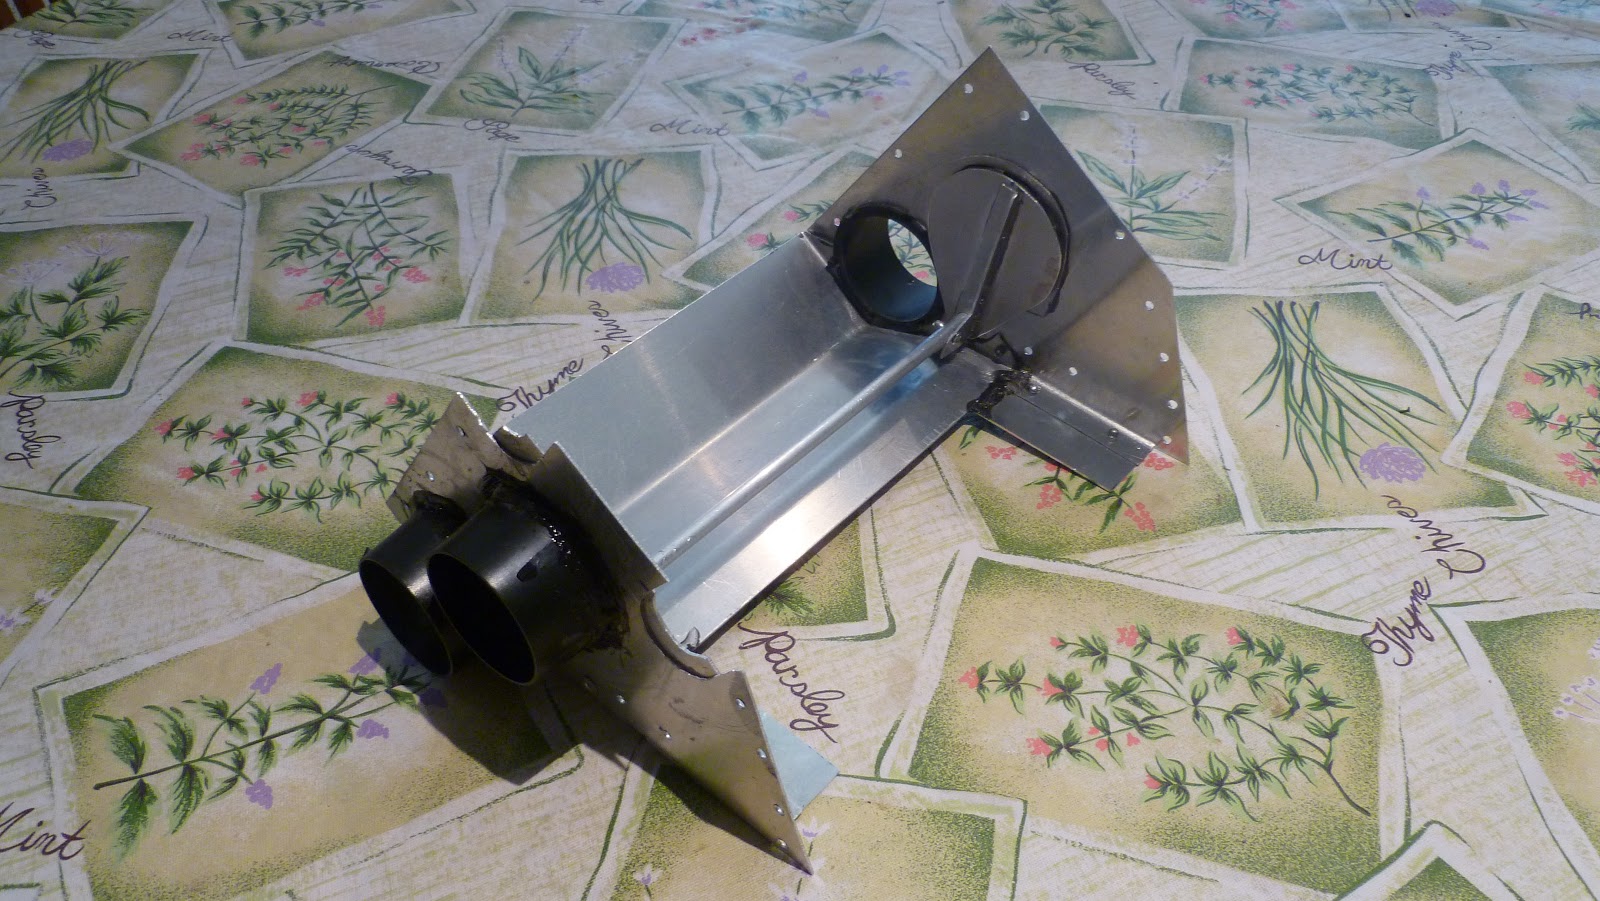
I made a bracket to hold the wiper motor using some stainless steel pipe that I cut in half.
I made a hinge for the back.
And welded brackets on the front to mount it the the frame and to hold it closed around the motor.
Here is it after installation (I painted it black).  The wiper system is from a 1968 MGB.  You can also see the heater valve under the wiper motor.

I started working on the glove box.  Here is a template that I made with the basic shape of the door.  This matches the style of the original car.
Here it is cut out.


I also made and attached brackets that will hold the dash to the frame.


I found these great recessed rivets to use on the dash so when it's covered, it will all be flush.

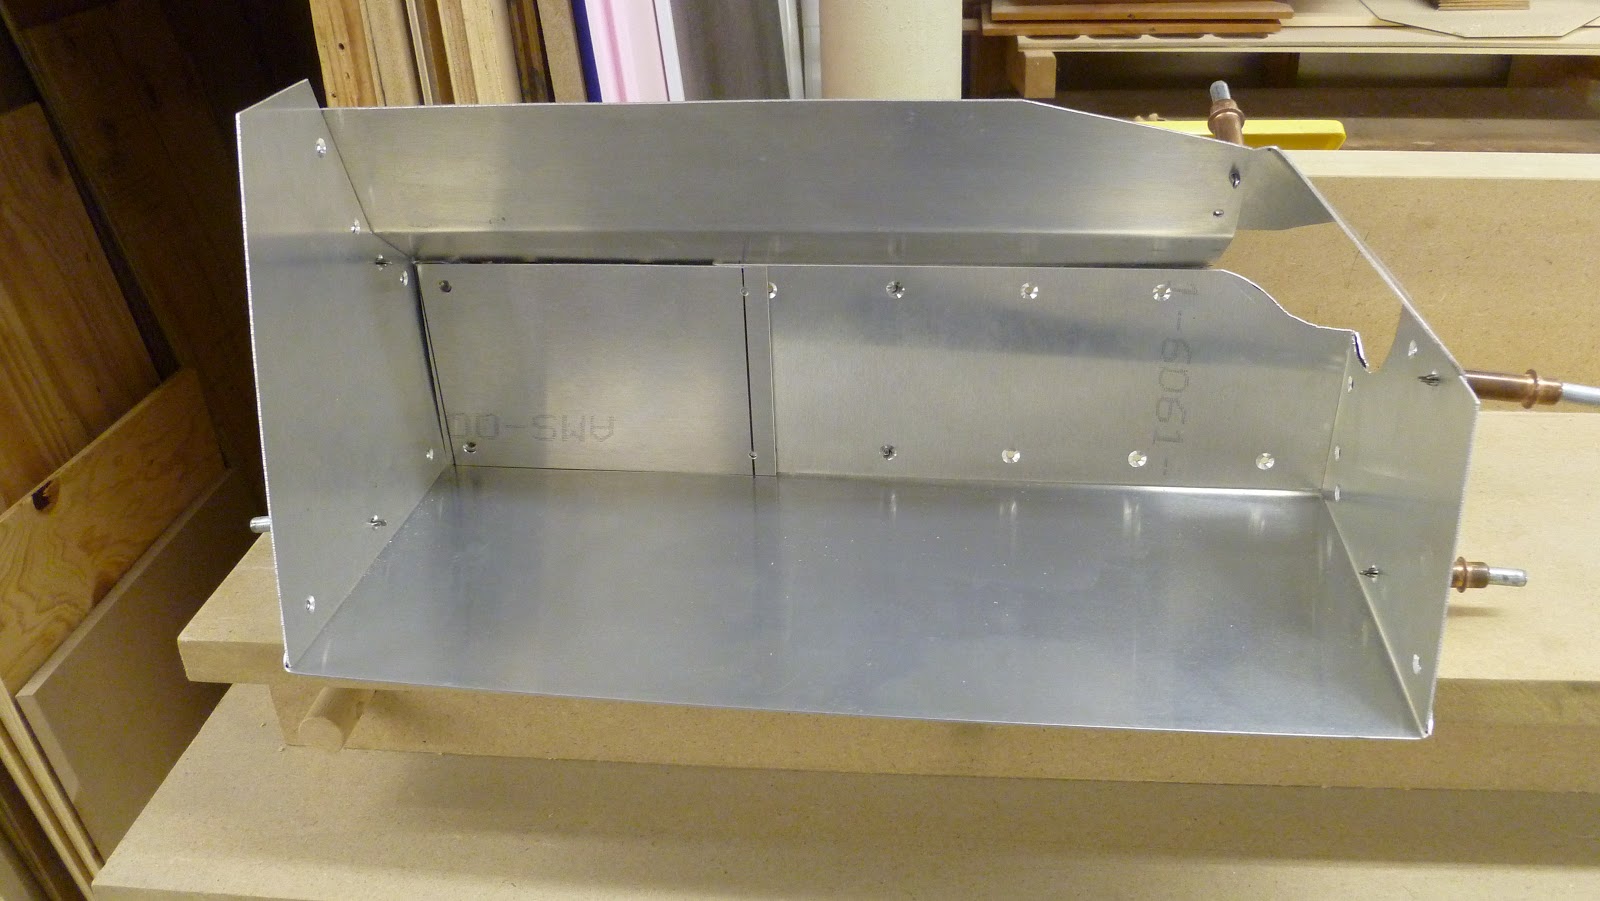
I made the interior of the glove box.
It has an access panel so I can get to the fuses.

This is what the dash looks like now.  From here it's going to start looking very messy with lots of wires running all over.

Wow, after looking at all these pictures even I feel like I'm making lots of progress.  Sometimes it's hard to see the forest for the trees. Very soon I'll be ready to cover the dash and I already have anxiety over that.

And you wondered about the body?  It has primer on the it and will start to get color applied next week.  But I think I'll keep those pictures to myself.

Monday, May 14, 2012

The Nitty-Gritty

The chassis is back in the garage and I'm into the home stretch.  I took a drive back up to New Haven two weeks ago to check on the progress and get the chassis.  Here it is loaded on the trailer outside the painter's shop.


I had a (mostly) good ride home.  I still laugh when I see people pull up along side the trailer while we're cruising down the highway and pull out their phone's camera to take a picture (while they're driving!).  Just wait until it's finished!  The painter said that I should be prepared for a short drive to get an ice cream will take 3 hours because everyone will want to see the car and have questions about it.

I mentioned that the ride was mostly good.  Well, it went fine until I got to the infamous NJ Turnpike.  Around the Lincoln Tunnel there are two branches and on this Saturday, one was closed so all the traffic merged into one branch.  As we approached a toll, the was a 4 mile traffic jam.  I inched along having conversations with people in other cars about the Cobra.  As we approached the toll booth, there was only one pay lane open (but multiple EZ Pass lanes) causing the backup.  With a trailer, I can't use EZ Pass so a slowly merged into the pay lane.  When I finally got to the station (where you actually pickup a toll ticket) nothing came out of the machine.  I started honking (as did 200 cars behind me).  Just then, the other pay station opened and cars quickly started shifting over.  After about 5 minutes of honking, I got out of the car to try to figure out what to do.  Of course, there are no employees around.  I have a 25 foot trailer that I can't backup into 5 miles of traffic to get into the other lane.  If I leave without a ticket, I'll get charged the maximum amount.  I even thought about trying to grab a ticket from the other machine.  Frustration is an understatement.  Finally, an employee came to tell me that I can't walk around out there.  Thanks for the advice buddy and give me a ticket so I can get out of here.  From there it was on to home.

There's lots and lots of little things to do to get the chassis finished before the body goes on.  I just finished installing the heater behind the dash.  After all the work I put into it, it almost didn't fit!  Fortunately, when I set the dash to the proper angle (third picture), I had just enough clearance.


I also fabricated a bump-out where my left foot can go while it's off the clutch.


It's still a very long list to get done.  Wipers, electrical, dash, interior, trunk and so on.  I'll keep you posted.

And if you're wondering, I do have pictures of the body goes through it's stages of preparation, but I think I'll save them for another post.

By the way, Carroll Shelby died last week at 89.  He was the developer of this car and a race car legend.  Thanks Carroll for keeping me busy.

Thursday, March 29, 2012

Is This the Beginning of the End or the End of the Beginning?

Just a quick post to let everyone know that the car is safely at the painter!  Everything went very smoothly.

Early Saturday morning I loaded the car on the trailer (I'm actually getting pretty good at it).

The biggest problem was that I woke up my next door neighbors when I started the engine at 7am.

The ride was about 100 miles over the George Washington bridge, through NY and up to New Haven.  It took about 2 hours and I was happy to get waves and thumbs-up along the way.  After about the first hour it got a lot easier and found myself only looking in the rearview mirror every 30 seconds.  Luckily, I avoided any traffic by going up there early on a Saturday morning.

When I arrived at the painter, I was really excited to meet him and see what else he was working on.  I rang the doorbell and was shocked to see one of my local Cobra buddies (from our monthly breakfasts) open the door!  He had earlier brought his car up there for some Spring polishing (I had never heard of that before) and was back that Saturday to pick it up.  His car is registered for the street but he had a trailer anyway so I helped him load his car and then it was my turn.  I was very proud when I jumped into the driver's seat, pushed the start button and heard the car roar to life.  I slowly backed down the ramp of the trailer and pulled the car into the workshop.  As you'll see in the pictures below, mine was in good company.

Here's my car in the shop.

Here are its cousins.
 (That's the painter in the background below.  He's a perfectionist! I know what some of you are thinking - that's the pot calling the kettle black)


You can see it the last picture that the body has been removed.  They'll be doing the same thing with my car.  Hopefully the bodywork will be completed in about 2 weeks and then they'll take the body off my chassis.  At that time, I'll take another ride up there to get the chassis and bring it back home to finish everything else.

I probably won't have too much to report for a couple weeks and then it's going to get CRAZY.

Wednesday, March 21, 2012

Where's the Heat?

It's hard to believe that back in October I had started to design the heating system.  This is what the original parts looked like
 And here is a prototype of what I wanted to build (it's standing on end in this picture)
Well, last week I finally turned my attention back to completing it.  The original design was close to what I wanted but I knew I had ignored a few details.  The main one was how to get it to provide heat both to the floor and to the defrosters like a regular car would have.  I knew I'd need to have some type of control to direct the airflow, but I didn't think I'd have room to add it on.  As usual, I sketched-out different ideas and tested a few -- finally I had my answer.

Here are the parts I fabricated.  The sides were enlarged so I could fit two outlets on each.  There's also a front, back, internal baffle, outlets and the heater core.
 Partially assembled.
 Here's the innovation.  I made internal gates on pivots that can rotate to close one set of outlets or the other.  The gates are connected by the rod that runs across the box so both move together.  This picture shows one side closed.
 And this picture shows the other side closed.
 There's also in internal baffle to make sure the air flow is directed through the heater coil.
 Here's a photo showing the heater core in position.  You can also see both gates.  By the way, the four outlets are there for driver and passenger floor heat and defrost.
Parts ready for final assembly.  Just to get to this point, I had already test fit the parts as least 20 times making small adjustments to eliminate air leaks and to get the gates to operate smoothly.
Assembled unit.
With blower motor attached.
Notice the lever below the two outlets.  This controls the internal gates.
Can someone tell me to comb my hair first!

There goes another week.  Making this heater was far more complicated than I imagined.  In the end, it probably won't even provide that much heat when I'm driving around in a convertible during the winter -- but I have the satisfaction of conquering a challenging engineering problem.

More importantly, I leave for the painter in two days!