Friday, July 29, 2011

Hey, Is That a Car in Your Garage?

Wow! It's starting to look like a real car instead of a transformer (for those of you who aren't up on kid's toys, a transformer is a toy car that transforms into a robot). The body is on, but before any of you get too excited, I'm not anywhere near being finished. I'm hoping to be finished around Thanksgiving (actually, I have no idea).

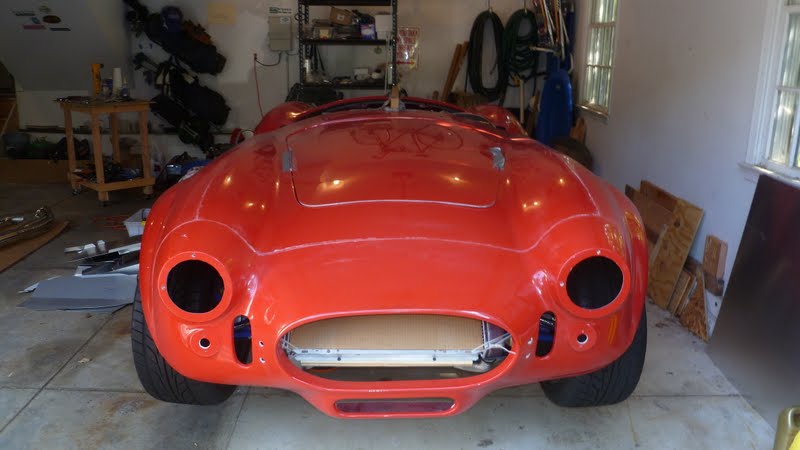
I had to put the body on to help with another step -- making the aluminum panels that will form the engine bay and the cockpit.  Some of them have to be fit to the body and so, here we are.  For example, here is a picture of the panels that surround the radiator.
These panels are particularly important because they will force air through the radiator rather than allowing it to escape around the sides.

So far, I've made about 20 panels and I hope to get them all done this weekend so I can bring them to get painted on Monday.  For those of you who have followed for awhile, here is an older picture of the area that will form the passenger foot area (the white cardboard pieces).
The process has been the same for all the panels -- make a template, trace it to sheet metal, cut it out, and bend it into shape.  Here are some pictures of the piece that forms the top of the passenger footbox.


I also made the metal bending tool (it's actually called a brake but I don't know why).
The panels will typically be rivets together.  Last weekend we had Laurie's mother and sister visiting.  Susu wanted to help me so I showed her how to rivet.  Before you knew it, it was like Tom Sawyer whitewashing the fence and everyone wanted to do it.


(I know it's a nice-looking workshop, but they were all in the kitchen so I brought the work to them.)

If you saw the previous post, I had two videos -- one of me being pushed around the driveway go-kart style and the other of the engine running.  Now my goal is to put them together and have the engine push the go-kart.  In order to do that, I still need brakes and a clutch.  Well, the clutch is done.

The top picture shows the slave cylinder mounted to a bracket I made.  The bottom photo shows it installed on the transmission.

I've been working on the brakes too.  I need to form brake lines that will connect each of the four brakes to the master cylinder that's operated by the brake pedal.  Here's what one of them looks like.
This piece snakes around the front to connect to two front brakes together.  Here it is installed.
Here's another small piece that I formed.


I've got the back lines done too.  After I get the aluminum panels back from the painter, I can install them and then mount the master cylinder to connect everything together.

I almost forgot that I'll need to have the stickshift mounted.  Fortunately, I found another helper for that.

He's ready for his first ride.

I also needed some helpers to get the body on.  Thanks to Ben and Rob for their help.


I must say that the engine likes its new home.

Of course, not everything goes smoothly.  Here is my current problem.  The exhaust pipes on the driver's side (ie, the headers) don't line up with the cutout on the body.

It's supposed to look like this
And no, I'm not going to just cut the body to make it fit!  Maybe the solution will come to me soon.  I think I'll sleep on it.