In a post a couple weeks ago, I mentioned that I'd have to work on my exhaust alignment problem (which was going to be a major issue) and I jokingly said I wouldn't ever be caught driving around in tights like Batman.
Here's the difference between men and women. After that post, the guys offered suggestions on the exhaust and the women wanted to see me in tights. Let's just leave it at that.
The other day I was waiting at the deli counter for my turn. As I watched the people behind the counter rhythmically slice the meats and cheeses, my mind wandered back to the exhaust alignment problem I have with the cobra. Then it hit me! I had to slice some metal off the header flange to change the angle as it leaves the engine. Not much would have to be removed since a small change at the engine end would be greatly magnified at the other end of a 24 inch pipe. I left without even ordering my roast beef and went straight for the calculator when I got home. Yep, by removing 0.1 inch at the bottom of the flange and have it taper to zero at the top should do it.
Now, who could do something like that? A machine shop would have the tools but could they hold an exhaust header precisely enough for this to work?
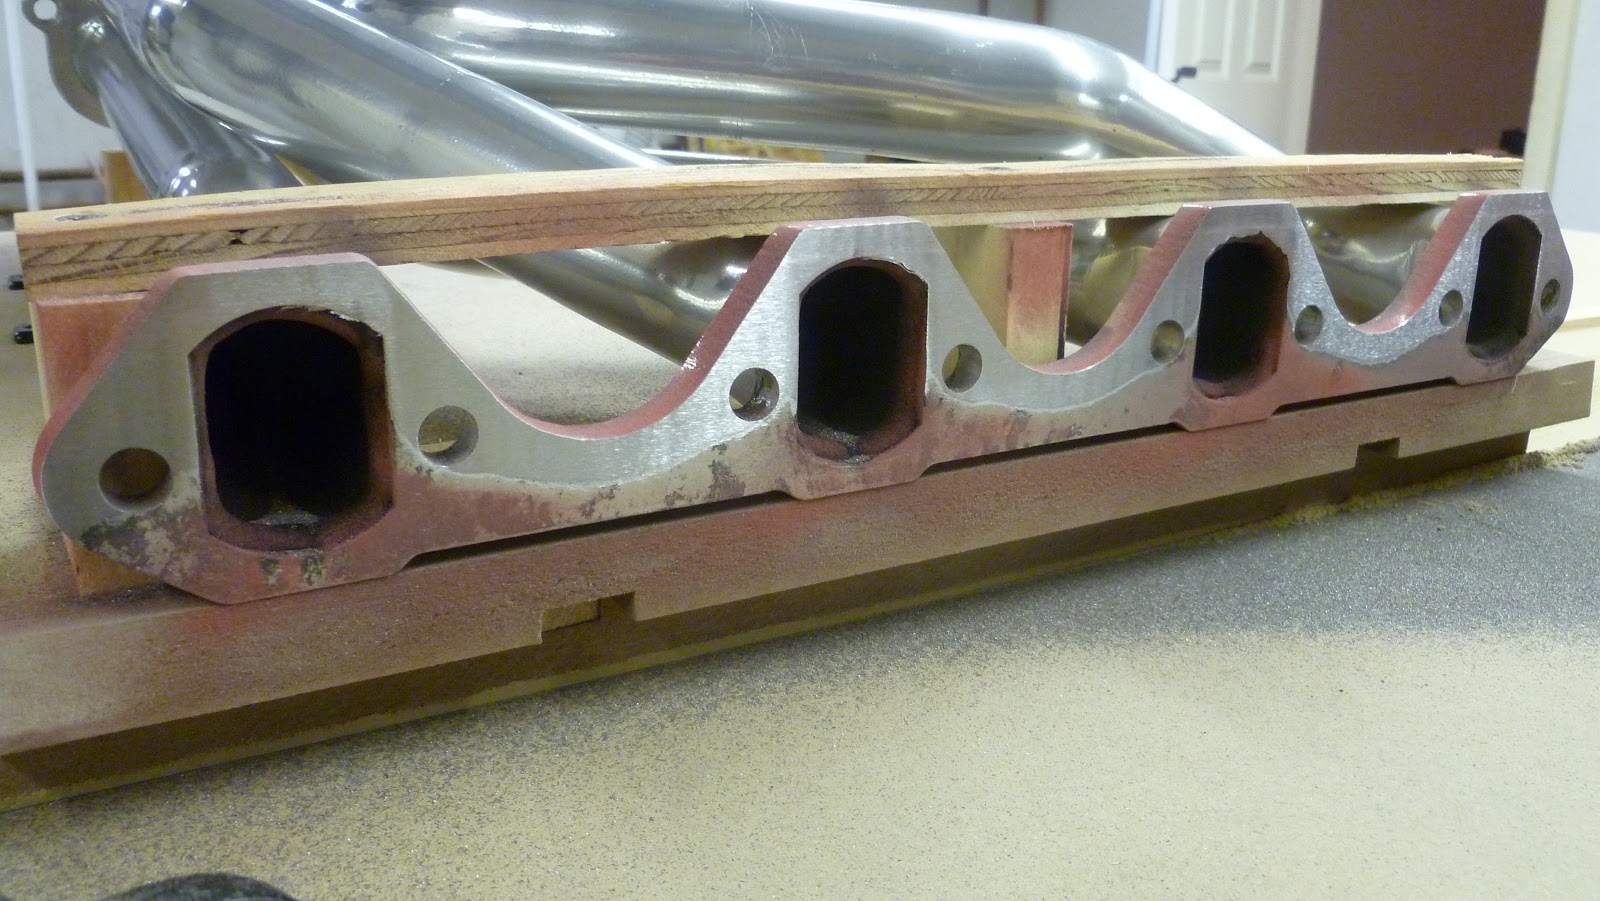
To give you an idea of what I'm talking about, above is a picture of an exhaust header standing on end. I need it to tilt to the right by another inch and plan to do it by shaving some metal off the piece at the bottom. But for it to work, I have to shave 0.1 inch along the right edge and nothing along the left edge. That way it will tilt more to the right. And just as importantly, it all has to be done very evenly along the whole length so the exhaust doesn't leak. I know, it's complicated, but keep reading.
After searching around for machine shops, I got another crazy idea -- I'd do it myself. I just had this sickening feeling that I'd run around all day trying to find someone who would try this and then I'd worry to death whether they'd be able to do it right. Not mention what they'd charge for this service. These headers were expensive so if they were going to get ruined, I figured I should be the one to do it! And anyone who knows me knows that I like to do things myself.
I realized the plan actually is based on the deli slicer. It can make very precise thin slices time after time. I needed to make an industrial deli slicer and here it is.
I made a sliding table that will run past my belt sander (instead of a blade). The header is propped-up at a precise angle so it removes material from the upward facing edge.
Maybe this video will make it all clear.
Here's one more picture that I took part way through the process. You can see that material is being removed from the top and I'm working my way down the face with each pass.
As the video showed, it all worked. Now, I think I'll put on the windshield.
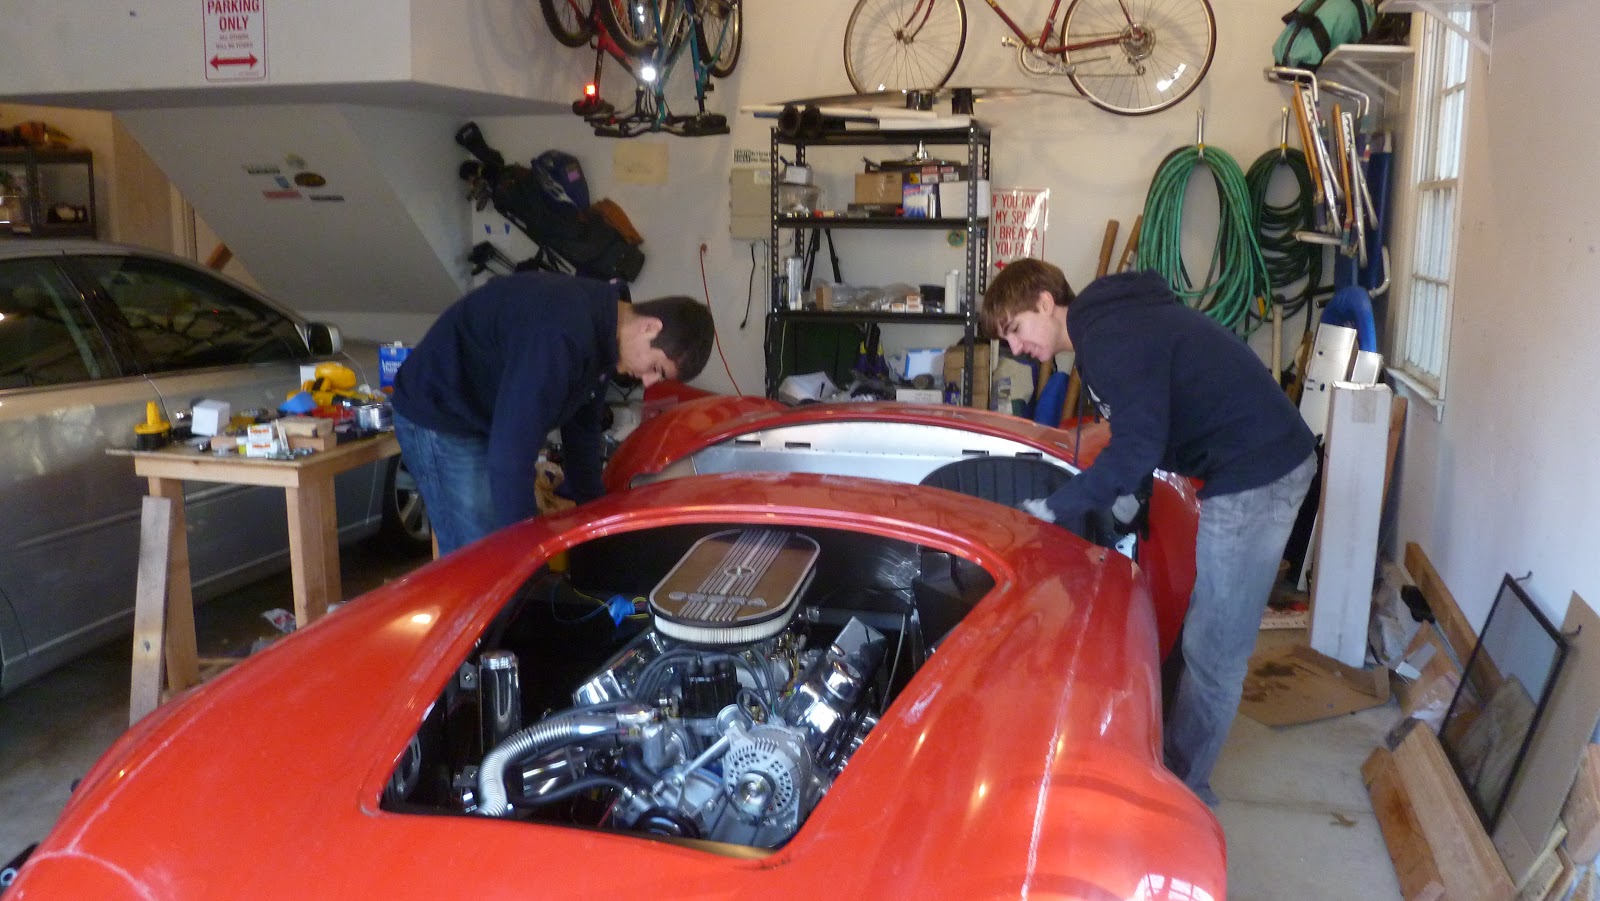
Last week, I had Ben, Rob and Chris help me put the body on the chassis. This is the first step in getting it ready for the painter.
It felt like we were dressing a mannequin -- not very flexible and it didn't always bend the way we needed it to. But with their help, we got the body on and it fit pretty well.
Once the body was bolted in place, I got the doors, trunk and hood out of storage and put them on too. It's starting to look like a real car.
The good news is that the weather has been very mild, making it much easier to spend time in an unheated garage in January. The bad news is that I was away for almost 2 weeks. Actually that was good news too since I was skiing and teaching a leadership program at MIT.
I did manage to make some progress. I finished installing the cockpit panels. Here is a picture looking toward the rear where the seats will go. Notice the stick shift near the bottom center.
Here is a picture after the rear wall was installed. All this will be covered with carpet. The 2 squarish holes on the back wall are for speakers I hope to install, but that will be a whole project in itself.
I also put the rear sides on. This will form the trunk and rear wheel wells. I'll put the floor of the trunk in later after I'm sure I won't have to get into the lower areas again.
This is what it all looks like now. A friend thinks it looks like the Batmobile.
Maybe there is a slight resemblance, but you'll never catch me driving around with tights on.
The plan now is to get the body on tomorrow with the help of some of Ben's friends. Then I'll start fitting the hood, trunk and doors. I'll also see if some of the work I've done helped with the problem I found last July when the exhaust didn't line up with the body openings.
I'm excited to get the body on so it will look like a real car. Who knows what surprises this next phase will bring.