Saturday, July 14, 2012

The Happiest Guy on Route 95

In my last post three weeks ago, I knew I was getting close to getting the body back from the painter.  Then, a few days ago, he told me he was done and I could pick it up today.  More about that later, but this afternoon driving with the freshly painted car behind me on the trailer down Route 95, I caught myself glancing back through the rear view mirror with a big grin on my face!

I knew I had a lot to do to get ready for the body, but boy did I underestimate it.  The first thing I realized was that for every hour I spent working on the car, I only got 20 minutes closer to being done.  And the second thing I realized was that a couple months ago when I would tell people I was 80% done, I was closer to 40% complete.

As this week progressed, the days got much longer culminating with a 20 hour workday on Friday. Here's what I got done over the last three weeks.

Finished the wiring throughout the front of the car.


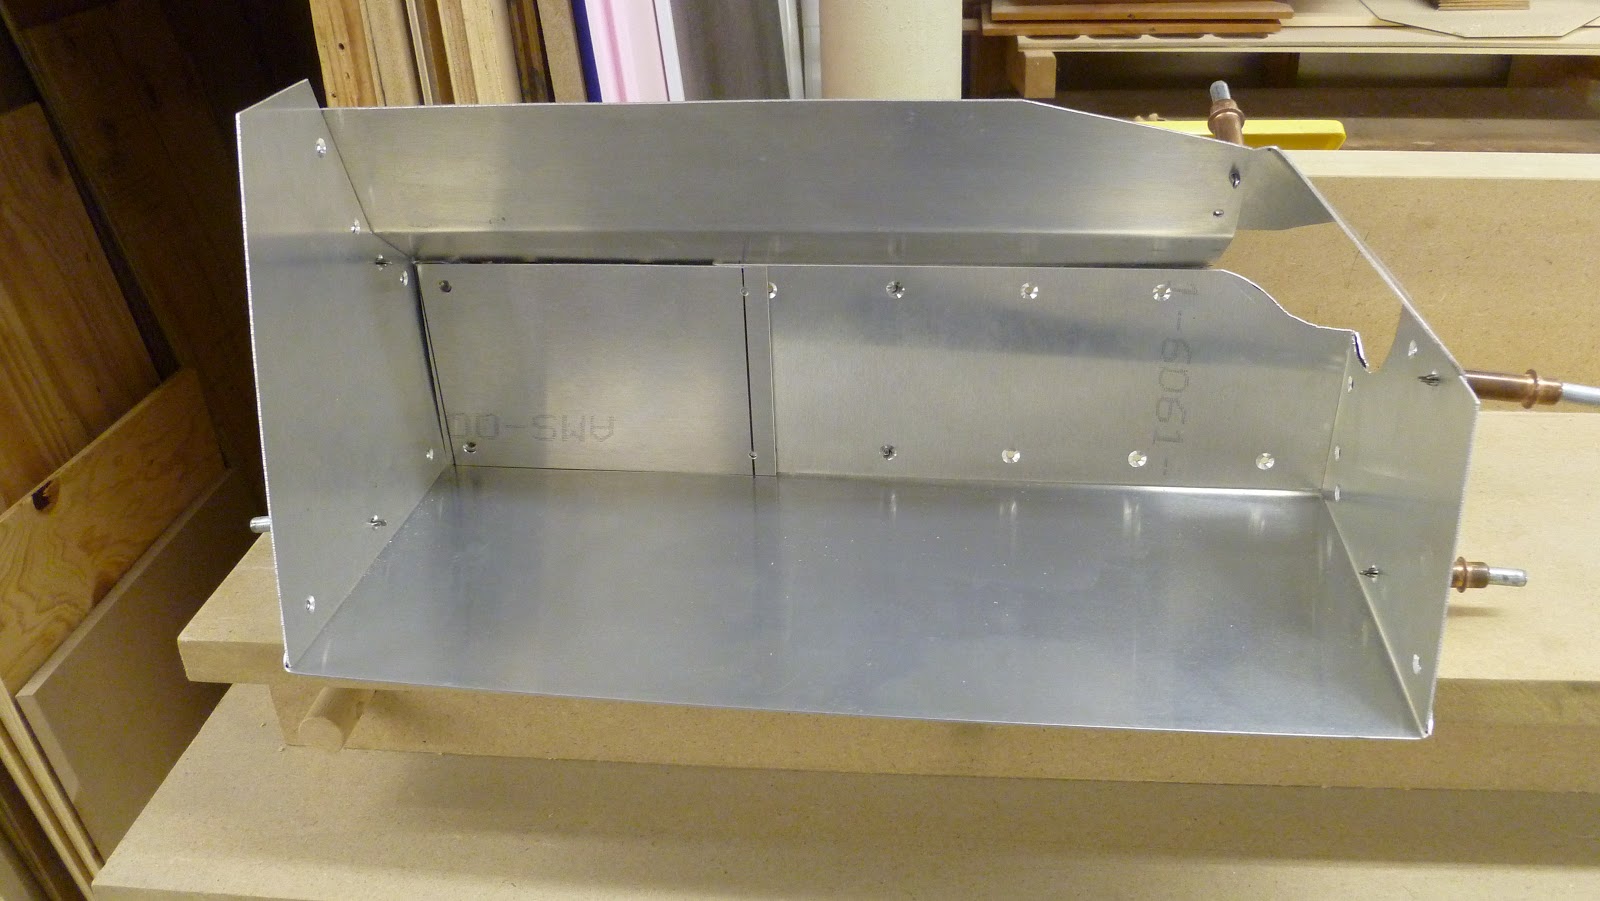
Made a pair of butterfly valves for the fresh air system.


Prepped the dashboard for the final switch and gauges location.  Next it will be covered in leather.


Installed carpeting in the driver's footbox area.


Completed the engine wiring.


Did my first wheel alignment (all four wheels).  There are strings running along side the car from front to back that are parallel to the frame.  These gave me reference points to make sure the wheels were straight.  Then I used a wheel alignment gauge to get the right angle on each tire.

This week was a record for the number of parts deliveries I got - at least one a day.  Here is UPS Chris checking in on the progress.

I made molds to create fiberglass enclosures for the rear speakers.  I'll put fiberglass on the outside of the mold and then remove the pink foam.


I finished fabricating the trunk area.


Covered all the aluminum with sound deadening material and did about half the carpeting.


I built a frame to hold the stereo components in the trunk.

 I welded the frame pieces together and I was worried because the welder hadn't been working correctly.  I even took it to a shop for them to check it but it worked fine there.  I knew welders use a lot of current and I was concerned that our house wiring couldn't handle it.  Well, I traced all the wiring back to the main electrical box and everything looked fine.  Finally, I found the problem.
We have a refrigerator in our garage and it's on the same circuit as the welder.  Whenever the refrigerator turned on, the welder stopped working.  With the frig unplugged, the welder worked better than ever.

I finished about half the wiring in the rear portion of the car.  You can see some of it in the picture above.  Here's another view.

While I was busy on my end, the painter was doing his job.


All that took a lot of hours.  Laurie has been so supportive during the whole journey and that's made it possible for me to get this close to being done.  That's why I love her.

Last night I wanted to load the car on the trailer so I could leave early this morning.  Since the wiring isn't connected, I couldn't start the engine and drive it onto the trailer, but fortunately we have two French exchange students staying with us.  They helped push the car up the ramps and onto the trailer.  That's how we do it in America!

The trip to the painter this morning was long but uneventful (he's in New Haven CT).  Before I got there, they had staged the body in a separate room so they could have an unveiling ceremony.  When I walked into the room, I was so overwhelmed that I actually couldn't breathe!  The car looked incredible!  Better than I had imagined and it looked even more amazing when we got it into the sunlight.  My friend Ninat met me there and was a big help getting the body on the chassis.  That only took about 10 minutes, but then we all stood there for an hour admiring the colors, the body lines and the mirror finish.  I definitely made the right choice on the colors and using this painter.

I as said earlier, I realized during my return trip that I must have been driving along the highway for at least an hour with this big grin on my face.  You know the type of smile when your face starts to hurt after awhile.  I couldn't wait to get home to show Laurie and the kids.  They were waiting for me as I drove down the road to our house.
My plan was to keep the car under wraps until the big unveiling party.  Well, as soon as I pulled into the driveway, some friends who were driving by stopped to see the car, and our neighbors on both sides came over.  Later, some other friends who heard the car was back came by.  We'll still have the party and I can't wait! 
 
I'm not ready to reveal the whole car yet, but I'll give you a sneak preview.

Now I'm really excited to finish.  I better get back to the garage.

Thursday, June 21, 2012

Two Weeks and Counting

I just heard from the painter that the body should be done in about two weeks!  That's great except now I'm in a panic to get everything done.

I started to run the wiring


I still have to finish making the trunk panels.  The basic design had only two panels, but I decided to squeeze more room into the trunk and now I have twelve panels that I had to fabricate, fit and install.  I'll have to remove the gas tank to get them all in place.


The amount of work to do is ridiculous.  Can I get it all done?  Stay tuned to find out.

Sunday, June 3, 2012

Is the End in Sight?

Maybe not yet, but I'm definitely getting closer!

I've been knocking-out a bunch of mini-projects and here's a sampling:

I started to install the modules that will control the electrical system.  It's actually a computer network.  The main computer picks-up signals from the switches and tells the other two computers (one in the engine compartment and one in the trunk) what to do.  The remote computers will control the lights, fan, wipers, etc.

The main computer slides up behind the dash on the bracket that I made.  Once it's programmed, I shouldn't have to access it, but I can always slide it down if I need to.


Here is the front computer in place.  I didn't want to make it visible so I put it on a hinge and it will flip up out of sight.  Here is a picture of the computer tilted down toward the engine.
 And here is one from the opposite angle of the computer tilted up.  This area is under the front fender so it won't be visible once the body is on.

I finished insulating the firewall.  You can see the heater installed in the center.
Here is a picture of the valve that will control the heater.  The silver hoses on the left connect to the engine and when the valve is closed, the hot engine coolant will return to the radiator.  When the valve is open, the fluid will flow through the pipes on the right and into the heater.

Since I had to drain the coolant from the engine to install the heater valve, I also fixed a small coolant leak in the front of the engine.  It was a case of using the wrong gasket.

I made a bracket to hold the wiper motor using some stainless steel pipe that I cut in half.
I made a hinge for the back.
And welded brackets on the front to mount it the the frame and to hold it closed around the motor.
Here is it after installation (I painted it black).  The wiper system is from a 1968 MGB.  You can also see the heater valve under the wiper motor.

I started working on the glove box.  Here is a template that I made with the basic shape of the door.  This matches the style of the original car.
Here it is cut out.


I also made and attached brackets that will hold the dash to the frame.


I found these great recessed rivets to use on the dash so when it's covered, it will all be flush.

I made the interior of the glove box.
It has an access panel so I can get to the fuses.

This is what the dash looks like now.  From here it's going to start looking very messy with lots of wires running all over.

Wow, after looking at all these pictures even I feel like I'm making lots of progress.  Sometimes it's hard to see the forest for the trees. Very soon I'll be ready to cover the dash and I already have anxiety over that.

And you wondered about the body?  It has primer on the it and will start to get color applied next week.  But I think I'll keep those pictures to myself.

Monday, May 14, 2012

The Nitty-Gritty

The chassis is back in the garage and I'm into the home stretch.  I took a drive back up to New Haven two weeks ago to check on the progress and get the chassis.  Here it is loaded on the trailer outside the painter's shop.


I had a (mostly) good ride home.  I still laugh when I see people pull up along side the trailer while we're cruising down the highway and pull out their phone's camera to take a picture (while they're driving!).  Just wait until it's finished!  The painter said that I should be prepared for a short drive to get an ice cream will take 3 hours because everyone will want to see the car and have questions about it.

I mentioned that the ride was mostly good.  Well, it went fine until I got to the infamous NJ Turnpike.  Around the Lincoln Tunnel there are two branches and on this Saturday, one was closed so all the traffic merged into one branch.  As we approached a toll, the was a 4 mile traffic jam.  I inched along having conversations with people in other cars about the Cobra.  As we approached the toll booth, there was only one pay lane open (but multiple EZ Pass lanes) causing the backup.  With a trailer, I can't use EZ Pass so a slowly merged into the pay lane.  When I finally got to the station (where you actually pickup a toll ticket) nothing came out of the machine.  I started honking (as did 200 cars behind me).  Just then, the other pay station opened and cars quickly started shifting over.  After about 5 minutes of honking, I got out of the car to try to figure out what to do.  Of course, there are no employees around.  I have a 25 foot trailer that I can't backup into 5 miles of traffic to get into the other lane.  If I leave without a ticket, I'll get charged the maximum amount.  I even thought about trying to grab a ticket from the other machine.  Frustration is an understatement.  Finally, an employee came to tell me that I can't walk around out there.  Thanks for the advice buddy and give me a ticket so I can get out of here.  From there it was on to home.

There's lots and lots of little things to do to get the chassis finished before the body goes on.  I just finished installing the heater behind the dash.  After all the work I put into it, it almost didn't fit!  Fortunately, when I set the dash to the proper angle (third picture), I had just enough clearance.


I also fabricated a bump-out where my left foot can go while it's off the clutch.


It's still a very long list to get done.  Wipers, electrical, dash, interior, trunk and so on.  I'll keep you posted.

And if you're wondering, I do have pictures of the body goes through it's stages of preparation, but I think I'll save them for another post.

By the way, Carroll Shelby died last week at 89.  He was the developer of this car and a race car legend.  Thanks Carroll for keeping me busy.