Tuesday, February 1, 2011

Brake Bracket Bingo

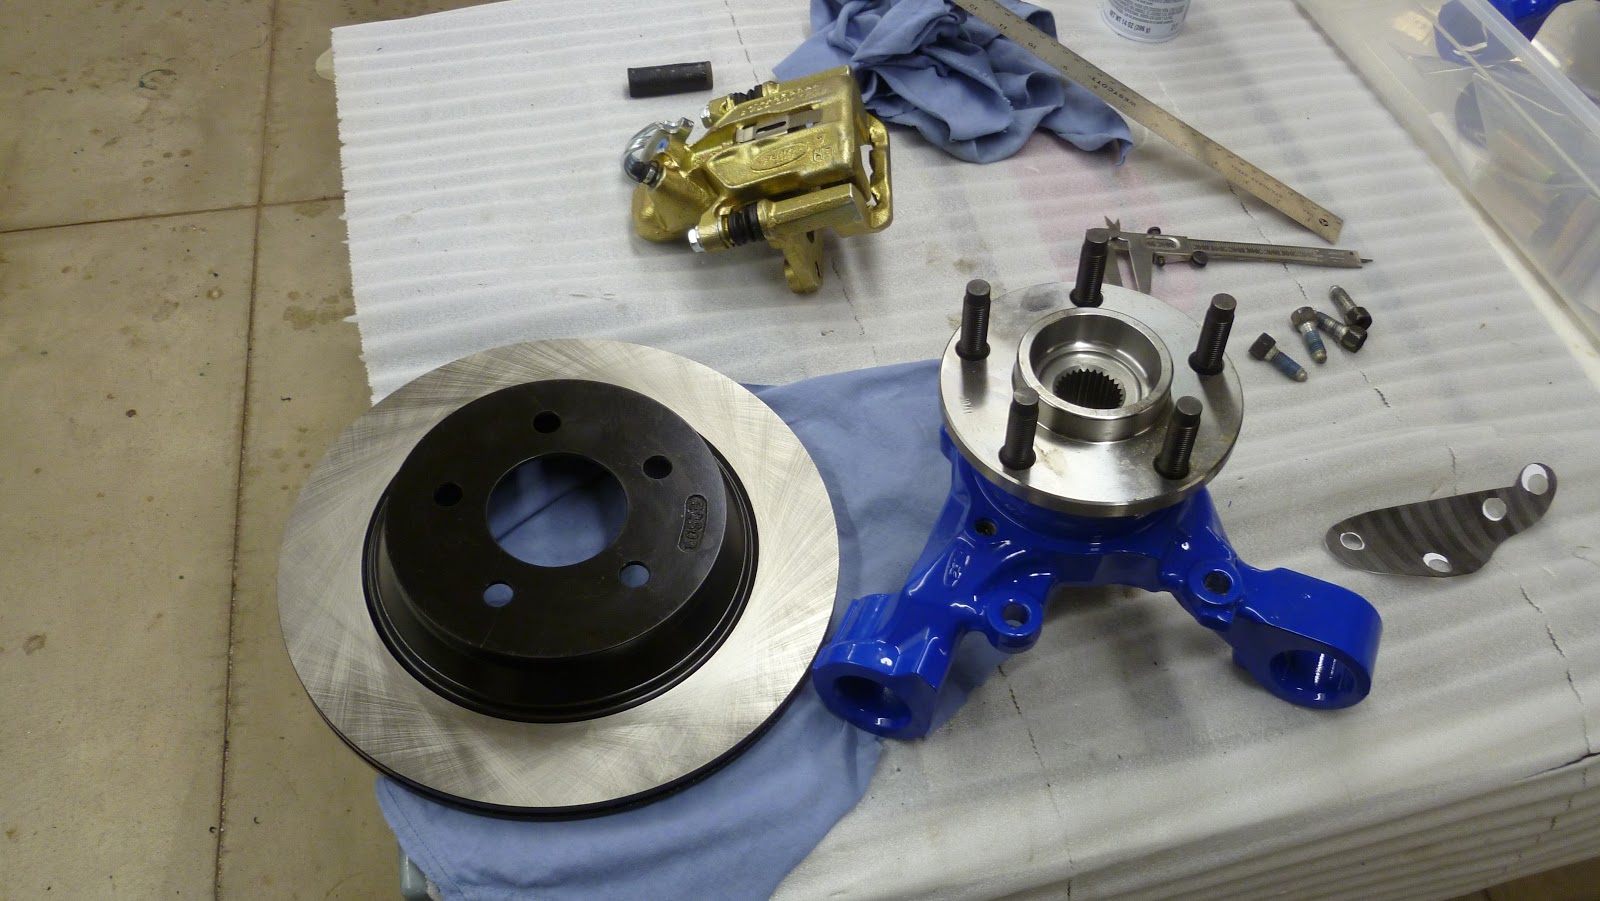
As I mentioned in the last post, I need to make a bracket to attach the rear brake caliper to the spindle.  Here's a picture of the problem - the hole in the blue piece doesn't line up with the hole in the gold piece.

I don't have one of those CAD programs that would help design the part (and I don't have time to program my computer to do it) so I got to use some drafting tools I've been saving since ninth grade.

I need to move the new mounting holes out 11.4 mm from the center of the wheel and rotate the position slightly to allow bolts fit in the old mounting holes.  The trial and error approach didn't work well (other than turning my template into swiss cheese).  I had a hard time holding the parts accurately in place while marking the paper.
I started over again and used a more scientific approach (I won't bother with the details).  Anyway, I got the brake almost in position, but found that the parts were hitting each other so I couldn't get everything fully into the proper orientation.  The biggest problem is that a chunk of metal is sticking out of the brake and getting in the way.  After pondering why this thing might have been cast into the brake housing, I couldn't come up with a reason so I decided to grind it off.  Worse case is that I ruin the brake.  Here's a before and after comparison.
The one one the right shows the square thing sticking up just to the right of the hole.  The one on the left has been ground off.  Luckily, it looks like the brake is still okay.

Now I could get the brake closer to the right position, but then it started to hit somewhere else.  Since I still had the grinder out, it was obvious that that was the way to fix the problem.  I had to grind part of the spindle.

I shaped the area to the left of the hole.  Here is a picture of the other spindle before it was ground.  You can see that it was square rather than round.  Again, I don't know why it was cast that way, but I'm pretty sure it isn't structural.

Okay, is it going to fit now?  Yes, everything seems to have moved into the right position.  I created a new template for the bracket and everything looks good.

In the picture above, you can see the two new holes where the brake will mount.  I will need to trace the paper template onto 1/4 inch steel and cut it out (somehow).

This is approximately what it will look like.  I'll have to make some spacers to keep the brake sitting properly on the bracket.
I'm going to double-check everything tomorrow and maybe cut one out of 1/4 inch wood to see how it fits.  I also will have to find nuts and bolts of the right size made of hardened steel.  I'm sure it will be another adventure in discovery.

Back to Work

I got home from my travels on Friday night and saw that five boxes had arrived while I was away.  However, before diving in, I wanted to spend some time with the family and get caught-up on two weeks worth of stuff to do.  Fortunately, there were a bunch of things for me to fix around the house, a few bills to pay, tax statements to file, etc., etc.

By yesterday, I couldn't wait any longer.  I opened the boxes and as I expected, I received the brake components I had ordered and a few other things.  I moved some parts inside so I could start working on them without having my fingers stick to the frigid metal (it's only about 15 degrees here).

Oh, I forgot to mention that I had also started working on refurbishing the differential I bought from Victor and Diane (I wonder how he's doing?).  This is what it looked like when it arrived.

I opened it up and inspected the gears, bearings and wear patterns.  Surprisingly, it looked pretty good.

The main issue that I found was that the primary gear shown in the picture above is only supposed to have 0.01" of movement and I found that it had about 0.04".  I decided to leave it alone.  I also didn't bother replacing the seals even though they might leak a little.  Hopefully, it will all be okay.  I cleaned everything, reinstalled the rear cover and painted it to match the other parts.  Now it's ready to go in the car.

Also, before I left, I went back to George to have him install new bearings in my rear spindles.  Fortunately, they went together a lot easier than when we had to take them apart.  Here is one of the spindles on the hydraulic press.
And here is the finished part with new bearings and a new hub that will fit the wheels I ordered.

So, with brake components in hand and all the other rear suspension parts ready to be installed, I could start the test fitting.

The round top hat is the rotor and this is what the brake grabs to stop the car.  Here is a picture of the rear brake unit.

And this is what it looks like when it's all together (it is pointing up in the picture since it's sitting on the work table.  On the car, it will point sideways and the wheel will attach using the 5 bolts).

Looks good -- from this angle.  But from underneath, there's an issue.  I had decided to go with larger brakes to help improve stopping (I figured that would be important).  Now the brake unit doesn't line up with the mounting holes (the gold hole doesn't reach over the blue hole).
I actually knew this would happen (yeah, right) and plan on making a bracket out of 1/4 inch steel that will hopefully be strong enough to hold everything together when I slam the brakes.  I already started working on the dimensions I need for the bracket, but it's a tight fit.  I think it will work just fine (fingers crossed).

Tuesday, January 25, 2011

A Short Break

Just a quick note that I haven't given up on this project.  In fact, I can't wait to get back to it.  The issue is that I've been away for the last 2 weeks and will be returning home this weekend.  I was fortunate enough to go skiing in Colorado for 4 days (plus a few days of travel time) and now I'm in Boston teaching a class on engineering leadership at MIT.  Definitely a fun and rewarding time.

I have heard that there are more boxes waiting for me at home.  Hopefully brake parts, a bell housing, and other parts I didn't even know I ordered.  I will certainly have a lot to do.

That is, after I get to reunite with my family.

Wednesday, January 5, 2011

It's Official

Yes, I'm building a car.  I thought I had been building for a couple months now, but not so.  I was a designer, theorist, purchaser, researcher, etc, etc. but not a builder -- until today.

I actually spent most of my time today continuing to prepare parts for assembly.  I checked that the front brake calipers fit on the spindles and would accommodate the 13" rotors I plan to buy.


I finished prepared the front control arms.  Here I'm installing the grease fittings.

You may have noticed that my kitchen counter makes a very good work bench.  So far Laurie hasn't been too bothered and it's much warmer than doing this stuff in the garage.  (For those who think about germs, I do clean the counter after I'm done.)

Many of the holes on the frame are now too small because the powder coating is a very thick finish.  I used a round file to remove the paint from inside the holes.


Installing the lower control arm.  This is part of the front suspension.


Even with removing the paint, I still had to use a little persuasion to get some of the bolts in place.

Torquing down the nuts.

I assembled the coil/shock units and installed those.


Lastly, I reassembled the front spindles.  I had to torque the spindle nuts to 250 ft/lbs and I almost broke my vise applying that much force.

So now I'm building.  But still researching, theorizing, purchasing, designing, etc, etc.  Did I say that I'm finally building something?  Who wants to go for a ride?

Tuesday, January 4, 2011

Three , Two, One -- Jump

Today, I officially got started with assembly.  Nothing is actually attached to the frame yet, but I'm getting close.  I feel this nervous excitement over taking the next step, kind of like a skydiver who hopes his parachute will work.  I've already sunk a lot of money into a bunch of parts and I have no idea if this car will actually ride down the road someday.  I guess the good news is that even if it doesn't work, I'll still be in better shape than the doomed skydiver.

I've included a few pictures of the progress.

As expected, my transmission was delivered today.  Nice, huh.

I also unwrapped the rest of the parts I got from the powder coater.


I started preparing some sub-assemblies.  I forgot how many parts I had accumulated.  This is one of about 10 boxes.  And many more parts still to come.

A couple of the parts were powder coated in an area that was supposed to be bare so I used paint stripper to remove the finish.

Here are some parts ready to assembly.

And here they are fully reassembled.

In this picture, I'm reinstalling the bushings I had removed for painting.

The upper and lower control arms ready for installation.

Tomorrow, I plan to get the front suspension assembled and hopefully get the rear bearings pressed (if my friend George I around -- he has a hydraulic press).

A Big Day

Happy New Year!!!  I'm back after a wonderful Christmas vacation with my family.  All I'll say is that it was warm, sunny and relaxing.  Best of all, we completely missed the 32" snowstorm that hit right after Christmas.

In my last post I was waiting to see how various things evolved over the Christmas period.  Well, I can now say is that all I have is GOOD news to report!!!  I almost don't know where to begin.  Parts have continued to flow in before, during and after Christmas.  Axles, hubs, brake parts, transmission (being delivered today), differential, seat heaters, and some smaller things.  I'll post some pictures later.

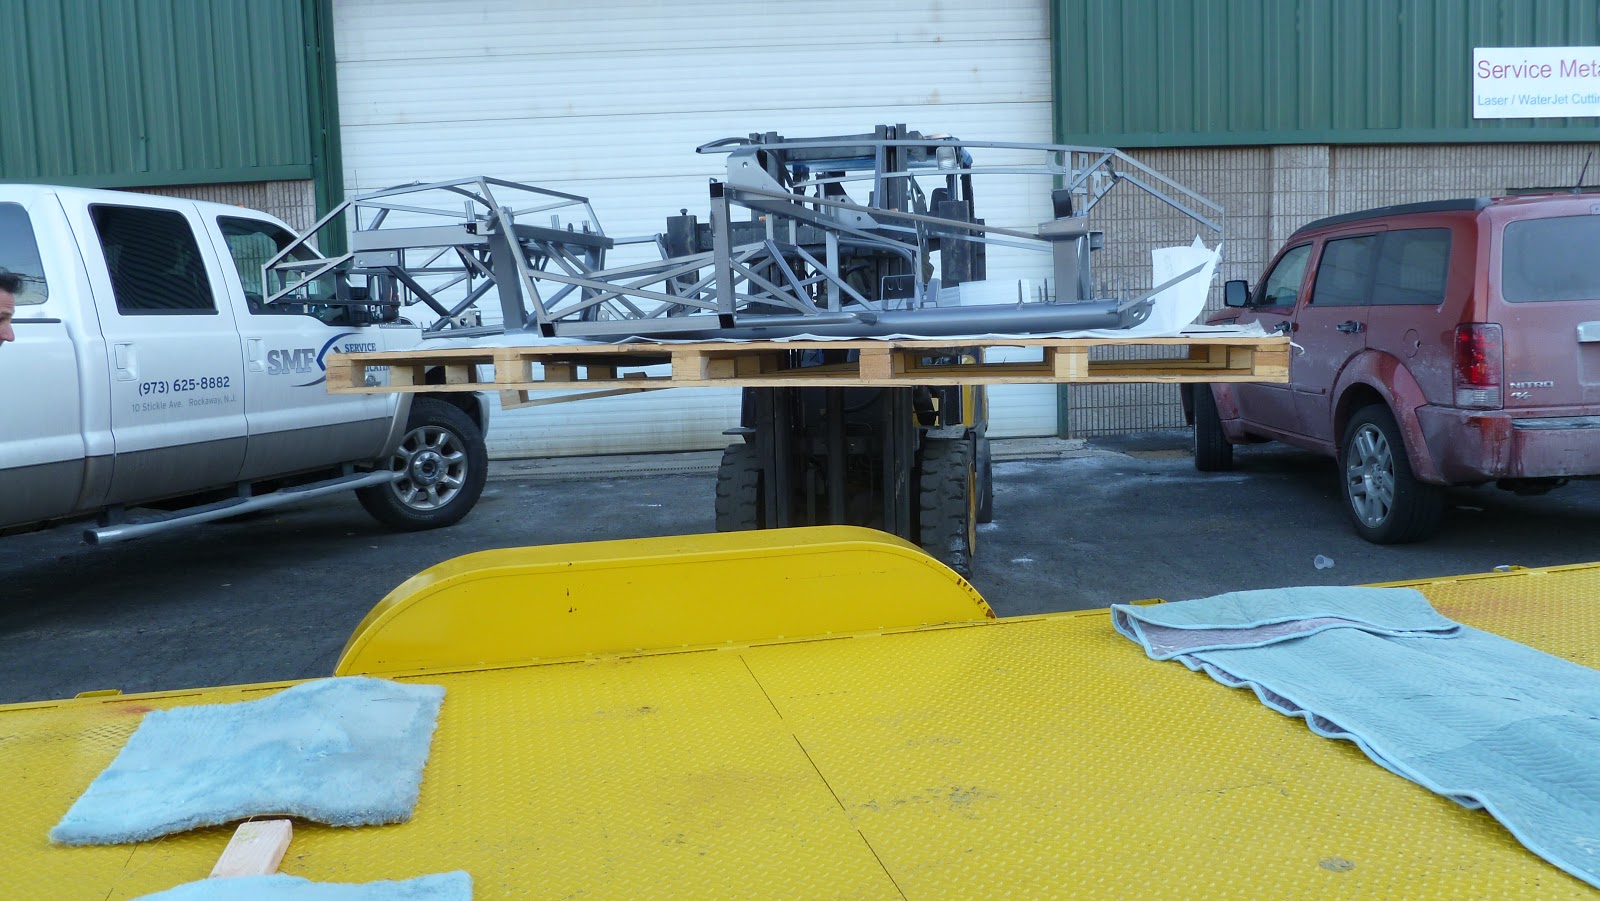
Now the really big news!  I picked up my frame and suspension parts from the powder coater yesterday.  I called him in the morning expecting to hear that he still hadn't gotten to it.  I was floored when he said everything was done and ready to be picked-up.  On the outside, I kept my cool, "maybe I'll come by this afternoon to get the stuff" but on the inside, I was thinking, "I'll be there in 15 minutes!".

Laurie kept me company on the 30 minute ride to the shop.  On the way, we had to pickup my trailer that I had stored "off-site".  I was worried that it had gotten completely snowed-in and we wouldn't be able to dig it out.  Fortunately, the snow had mostly melted and we didn't have any problems getting the trailer hitched and on the road.

As we pulled up to the shop, we saw a small camera crew filming outside, but didn't think much of it (I didn't anyway -- I was there to get my parts and nothing was going to distract me!).  More on that later...

As we entered the shop, there was my frame on display for all to see!  It looked great!


Most of the smaller parts I had done in a cobalt blue for some splash.

Here I am with Bill, the owner.  He's very proud of the work his shop does.

We were able to use a forklift to get the frame out to the trailer and then three of us lifted it into position.


The ride home was uneventful and we got everything safely back into the garage.  Ready to start work...

And here's a close-up picture of the finish so you can see how it looks.

Now back to the camera crew.  They weren't really there to film my project, but I think they did take some footage when no one was looking.

That's me and the frame in the background

This shop has been commissioned to fabricate the bronze plaques that will go around the 9/11 memorial at Ground Zero.  These plaques will have the names of all those who perished during the attacks.  They were working on them while we were there and the camera crew was filming for a special that will air on the History Channel during the upcoming anniversary.  There will be about 150 sections when it's completed and they will encircle the reflecting pools.  The bronze will be heated and cooled so it is always comfortable to touch, and the names are completely etched through and backlit.  Here is a picture of one section.

This unit is about 3 feet tall and 7 feet long.  It was quite moving to see them all lined up in the shop.  For Laurie and me, we got to see a little history in the making.